
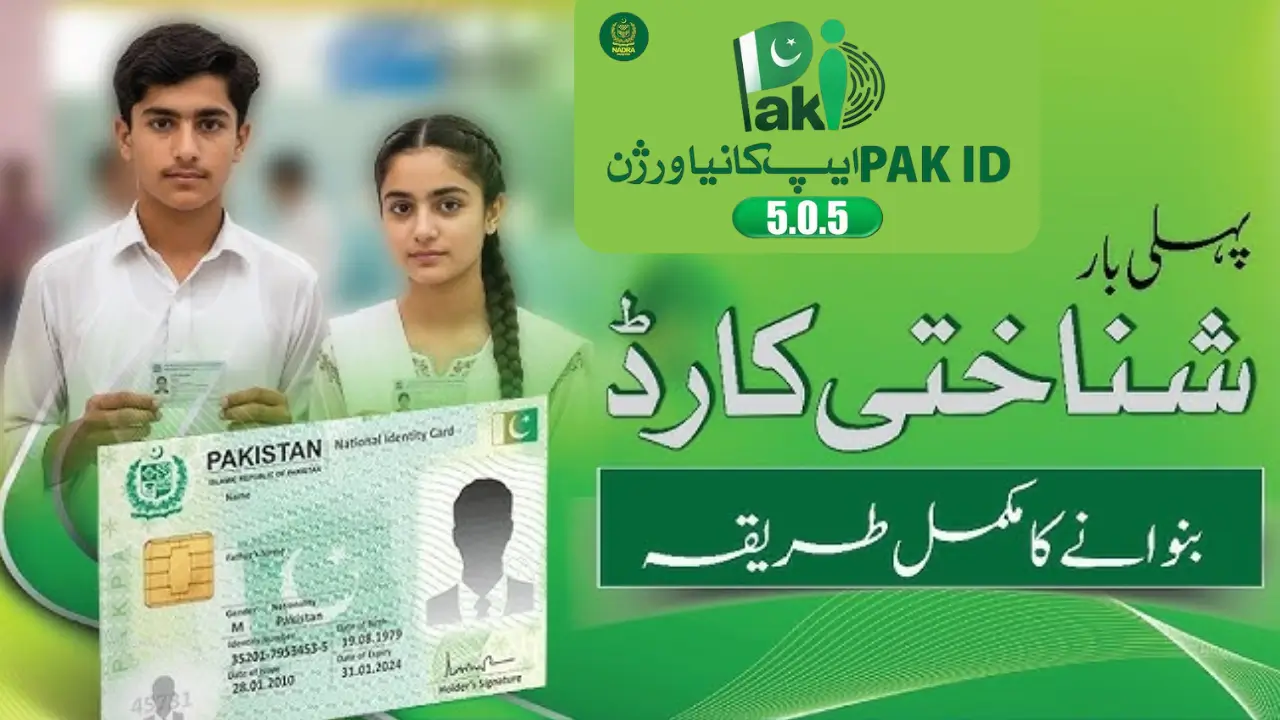
Why a Perfect NADRA ID Card Custom Photo Upload Is Crucial
Uploading a perfect photo for your NADRA ID card is crucial. A clear and correct photo ensures fast approval. It prevents delays and rejects due to poor image quality. Using the right background, proper lighting, and correct dimensions makes your application smooth. A sharp and professional photo also helps maintain your identity accurately.
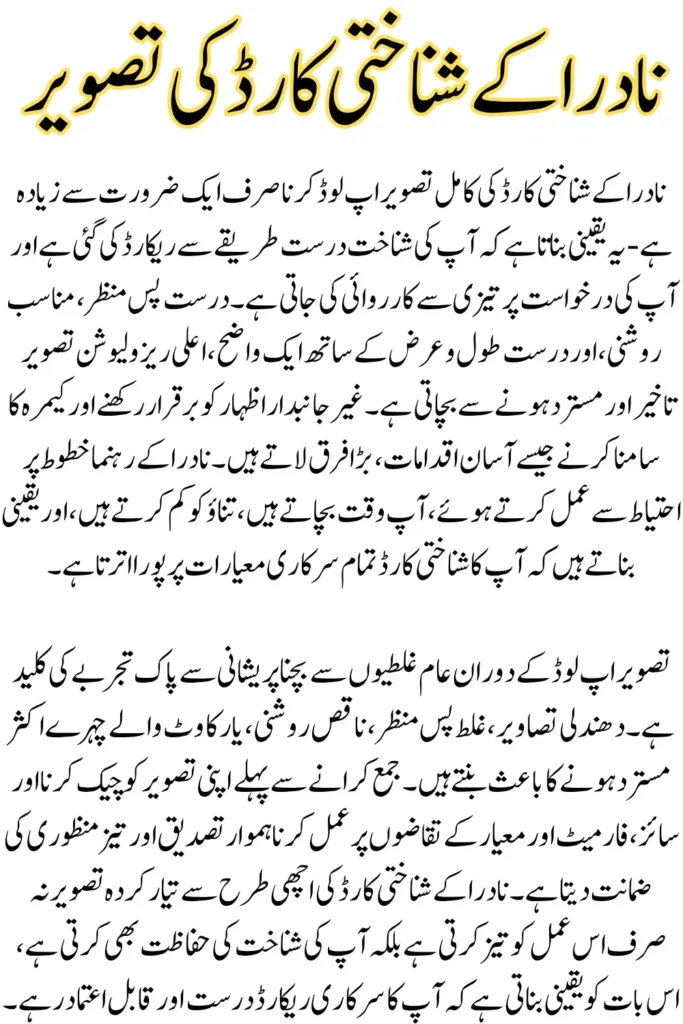
A high-quality NADRA ID photo protects your identity. It avoids mistakes in official records. Simple steps, such as facing the camera, maintaining a neutral expression, and following NADRA guidelines, make a significant difference. A proper photo upload saves time, reduces stress, and ensures your ID card meets all requirements. Always double-check before submitting to secure hassle-free approval.

Step-by-Step Process for NADRA ID Card Custom Photo Upload
Uploading a perfect photo for your NADRA ID card is simple if you follow the right steps. A clear, correctly sized photo ensures fast approval and avoids delays.
- Prepare a recent, clear photo with a plain background.
- Check NADRA photo requirements: size, format, and resolution.
- Log in to the official NADRA portal or app.
- Upload your photo carefully and ensure it appears correctly.
- Review the photo for clarity and alignment before submission.
- Submit your application and keep the confirmation receipt.
- Track your ID card status online to avoid issues.
A proper NADRA ID photo ensures quick approval and hassle-free processing.
Common NADRA ID Card Photo Upload Mistakes and How to Avoid Them
Many people face delays due to common NADRA ID photo mistakes. Avoiding these ensures smooth application and quick approval.
- Blurry or low-quality photos: Always use a clear, high-resolution image.
- Wrong background: Stick to plain, light-colored backgrounds only.
- Incorrect size or format: Follow NADRA’s exact photo dimensions and JPEG format.
- Obstructed face: Remove glasses, hats, or anything covering your face.
- Wrong facial expression: Keep a neutral expression with eyes open.
- Poor lighting: Use natural light or bright indoor lighting to avoid shadows.
Avoid these mistakes to ensure fast, hassle-free NADRA ID approval.
Top Tips to Get Your NADRA ID Card Photo Approved Quickly
Getting your NADRA ID card photo approved quickly is easy if you follow simple tips. A perfect photo saves time and avoids delays.
- Use a clear, high-resolution photo to avoid blurriness.
- Choose a plain, light-colored background for clarity.
- Follow NADRA’s size and format requirements precisely.
- Maintain a neutral expression with your eyes open and your face fully visible.
- Avoid shadows and poor lighting for a professional look.
- Check the photo before uploading to ensure it meets all guidelines.
Following these tips ensures fast and hassle-free NADRA ID photo approval.
You Can Also Read: Kisan Card Reward Campaign Punjab Farmers: Win Tractors, Smartphones, and Gold Coins in 2025
What Happens After You Upload Your NADRA ID Card Photo
After uploading your NADRA ID card photo, the process moves quickly if your image meets all requirements. Proper submission helps avoid delays and ensures accurate records.
- Verification: NADRA checks your photo for clarity, background, and compliance with guidelines.
- Approval or Rejection: If the photo meets standards, it gets approved; otherwise, you may be asked to upload a new one.
- Application Processing: Once approved, your ID card application continues for printing and dispatch.
- Tracking: You can monitor your application status online or via SMS notifications.
Correctly uploading your photo ensures smooth verification and fast NADRA ID card processing.
You Can Also Read: Aghosh Program 38,000 Payment Status – Easy CNIC Verification and Eligibility Criteria
Conclusion
A perfect NADRA ID card photo is crucial for fast approval and smooth processing. Clear, high-quality photos that follow NADRA guidelines prevent delays and rejections. Avoiding common mistakes like wrong background, poor lighting, or incorrect size ensures your application is accepted the first time.
Double-check your photo before submission to save time and stress. A correct photo not only speeds up approval but also ensures accurate records and a hassle-free experience. Following these simple steps makes the NADRA ID card process quick and efficient.
You Can Also Read: KPK Ehsaas Naujawan Program 2025: Online Registration, Eligibility & Apply Now
Frequently Asked Questions
What is the required size for a NADRA ID card photo?
NADRA photos should follow the official dimensions, usually 1.5 x 2 inches (passport size), and be in JPEG format. Always check the latest guidelines on NADRA’s website.
Can I upload a colored or black-and-white photo?
NADRA requires a clear, colored photo with a plain light background. Black-and-white photos are not accepted.
What should I do if my photo gets rejected?
If rejected, carefully check the reasons, adjust your photo to meet guidelines, and re-upload it. Ensure proper lighting, background, and facial visibility.
Can I wear glasses or a hat in my NADRA ID photo?
No. Glasses, hats, or anything that covers your face are not allowed. Keep your face fully visible with a neutral expression.
How can I track my NADRA ID card application after uploading the photo?


You can track your application online through NADRA’s official portal or via SMS notifications using your application number.
You Can Also Read: PM Youth Business & Agriculture Loan Scheme 2025 – Apply Online to Get Up to 7.5 Million for Your Dream Project